The first thing that people ought to become familiar with when it comes to photoshop is simple transparency. It was one of the first things I learned and the first that really gets people excited about the capabilities of photoshop. All though transparency is very elementary for most photo editors and something that is possible on many web editing softwares, it’s still something I want to cover.
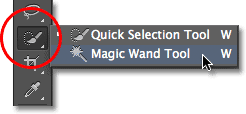
Transparency all begins with the magic wand tool.

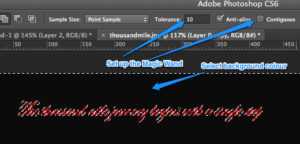
The magic is literally just that – a magic wand that will make anything disappear, just without having to say the whole abracadabra thing. By selecting the magic wand tool you can simply click on something and it will select an outline. See Below.

You can see from the image that when you take the magic wand and select the black background it will select the border of everything in red because it senses that contrast. If you adjust the tolerance at the top of the screen you can adjust the range of the selection and how much it must adhere to the area you clicked. Sometimes you have to increase the tolerance in order to capture the entire image you want to select. In the image above you don’t have to worry about the tolerance because the contrast of the black and red is so easy for photoshop to discern.
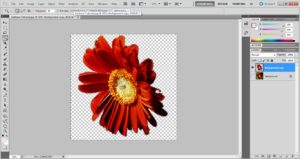
Once you have selected the part of the picture you want to remove in order to make the picture transparent (no background), then simply click “delete.” This will remove that selection and leave you with the outline of whatever was not deleted. In the example above, clicking delete would leave you with just the red writing and transparent background.
Make sure to always save your transparent images as .png in order maintain the transparent background.
Hopefully you guys found this useful, and will stay tuned for future posts.


